Chassis Finishing Touches
This year the 2025 Everybot will require some non-standard modifications to support our robot’s capabilities. We will not be using the vertical battery mount, instead laying the battery down flat so we can intake balls more comfortably and favorably shift the CG for the deep climb. The chassis end frame will also require reinforcement for our deep climb mechanism, this should be done when building the climb.
Battery
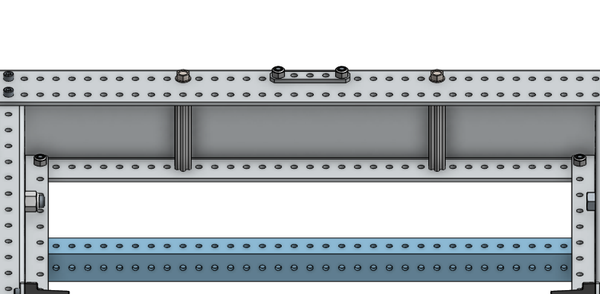
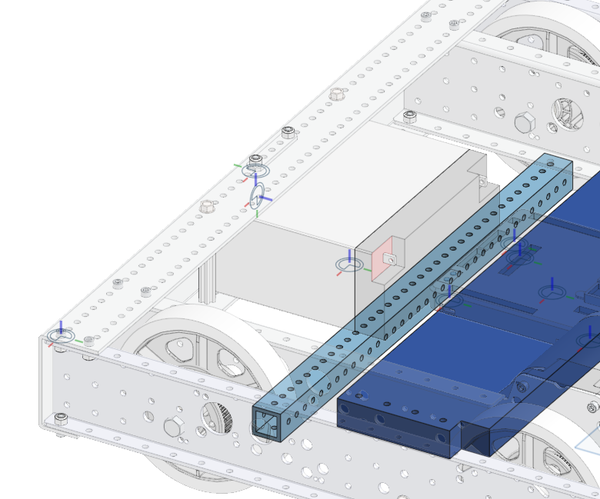
The battery will require two 3” churros and a piece of box tube. The box tube will be 18” long and require two .201” inch holes centered in the tube. We will define the location you put the battery as the front of the robot. We recommend you select the side of your chassis where the belts are further from the center.

If the box tube is cut exactly to 18” the holes will be 0.5” away from the ends of the tube but drilling 2 holes first might not be the best strategy. Instead we recommend drilling the first hole, attaching the box tube to the chassis with a 1.5” 10-32 bolt + nylock nut and using the chassis’s hole as a guide for drilling the second hole. The box tube will go in the 6th hole or just past the bolt that holds the wheel on the underside of the chassis. This tube will ensure that the battery cannot fall out of the robot due to gravity.

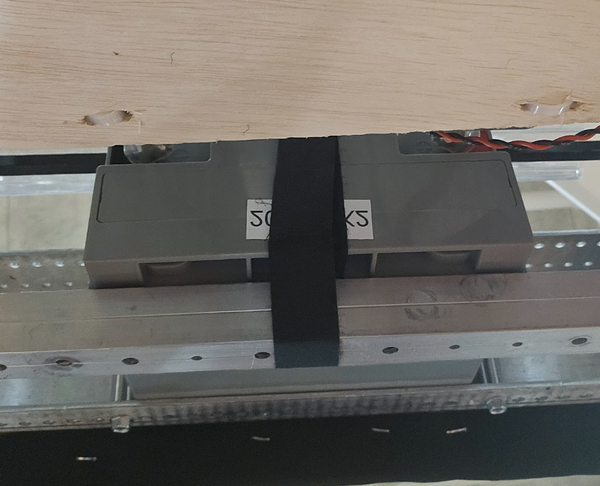
Next we have to address the other ways in which the battery can become loose. To prevent the battery from being able to move forwards and backwards we will use some equipment from the kit chassis’s battery hardware, specifically the battery clamp and the battery strap.
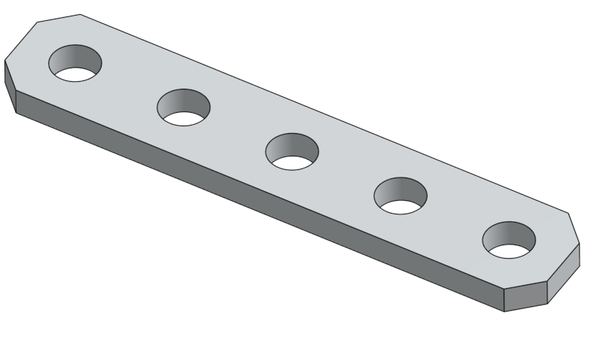
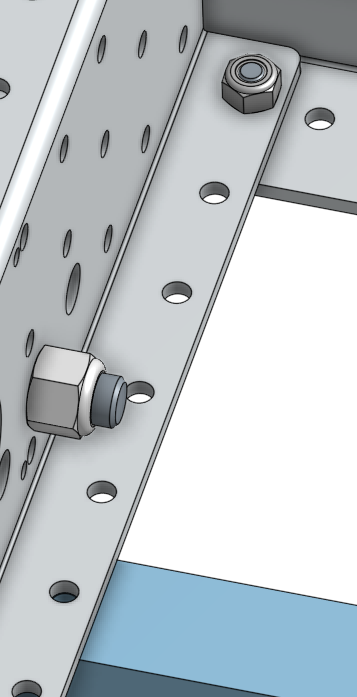
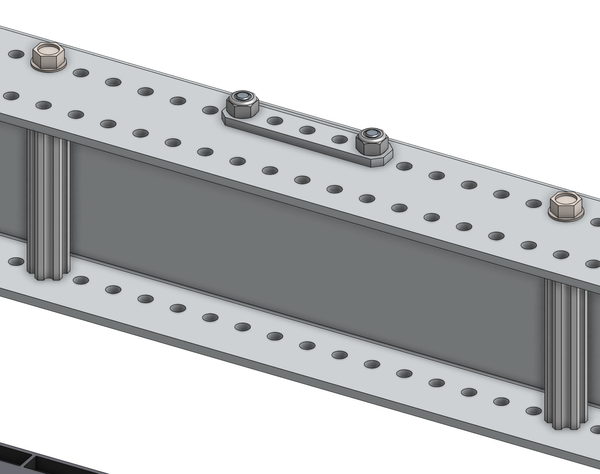
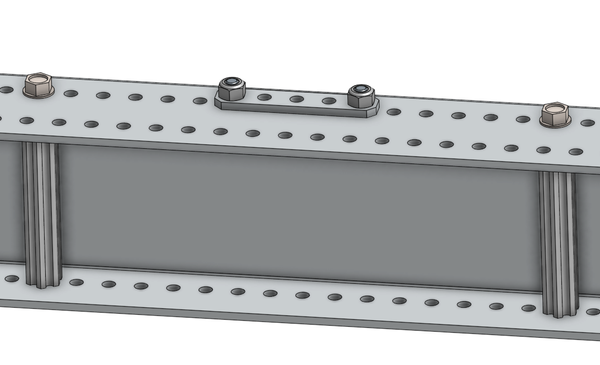
The battery clamp needs to be centered on the outermost hole grid of the chassis end. On the inside of the frame use 0.5”-.75” button head bolts with nylock nuts on top of the clamp. Make sure to pin down the battery strap under the battery clamp.

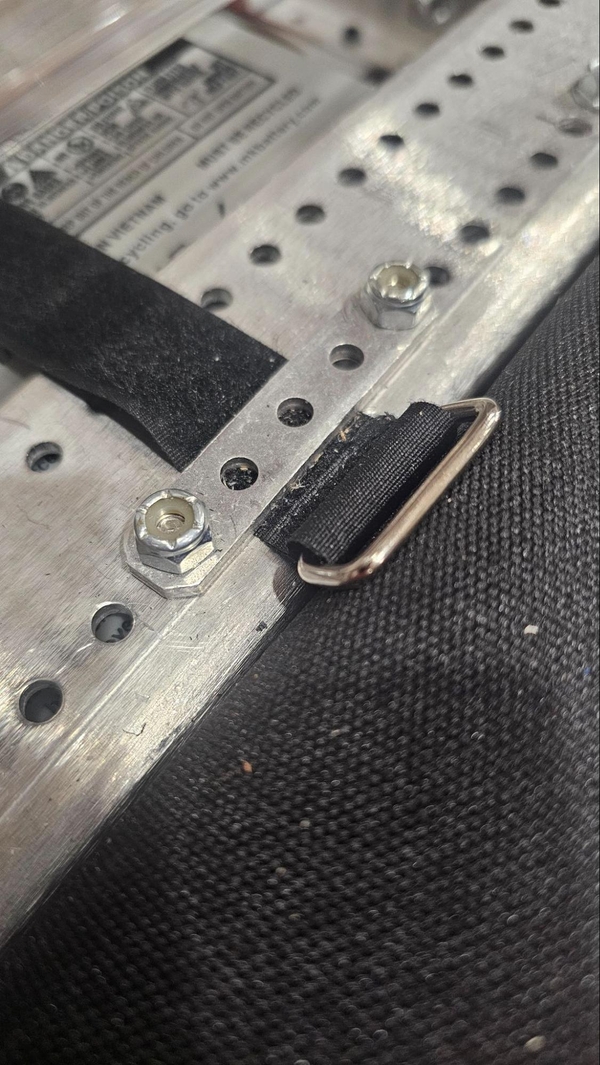
If possible feed the strap through the buckle so the buckle does not hang over the edge as shown above.
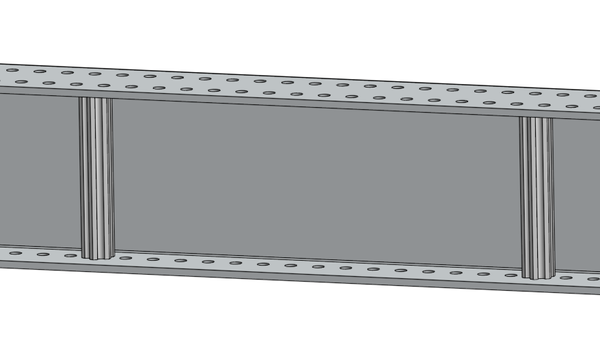
Now that the battery cannot move forwards/backwards and up/down, we need to prevent the battery from moving side to side. To do this we cut down the two churros in the battery kit to 3”. In order to properly attach them we will need to enlarge some of the existing holes in the chassis to ¼”. With a ¼” drill bit, drill out the 6th hole from the battery clamp ends and enlarge the existing holes on the top and the bottom. Then use the included ¼” thread rolling screws to tap into the churros, once they have been inserted into the frame.
Below is a video that showcases how the battery is secured: