Tapping
The goal of tapping is to add internal threads to a hole so a bolt can be screwed into it like it is a nut. Typically for tapping you will need the following:
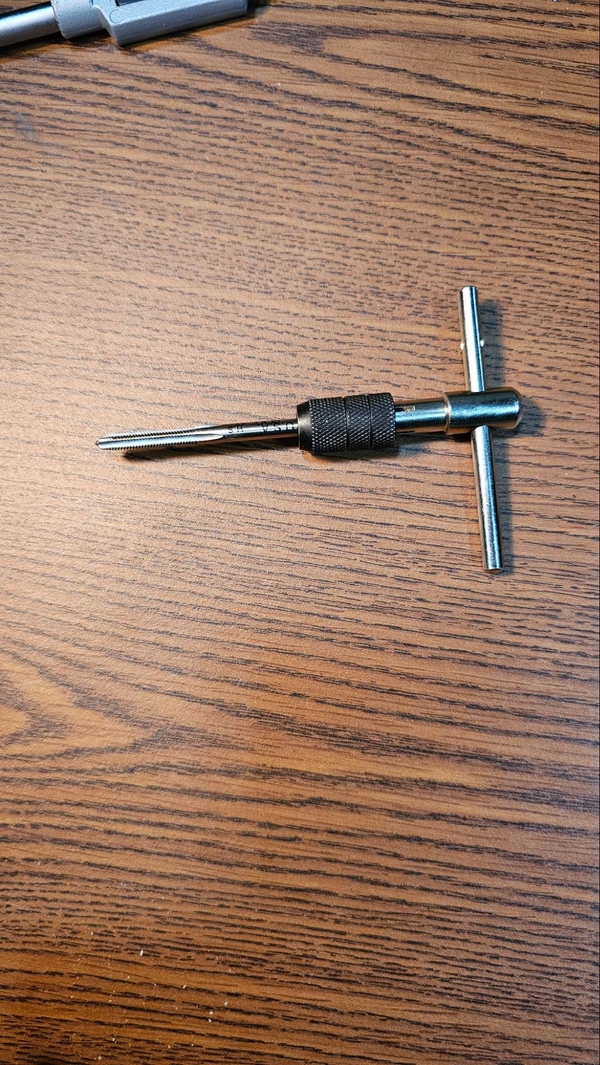
- Tap with the desired thread
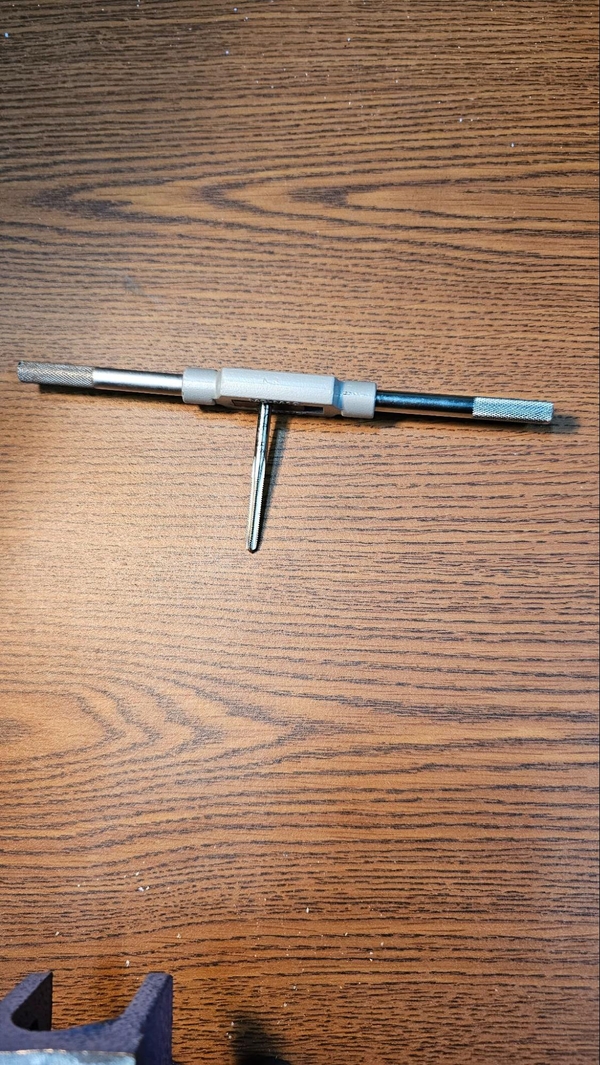
- Tap handle or tap wrench
- Cutting fluid (Tap Magic or similar)
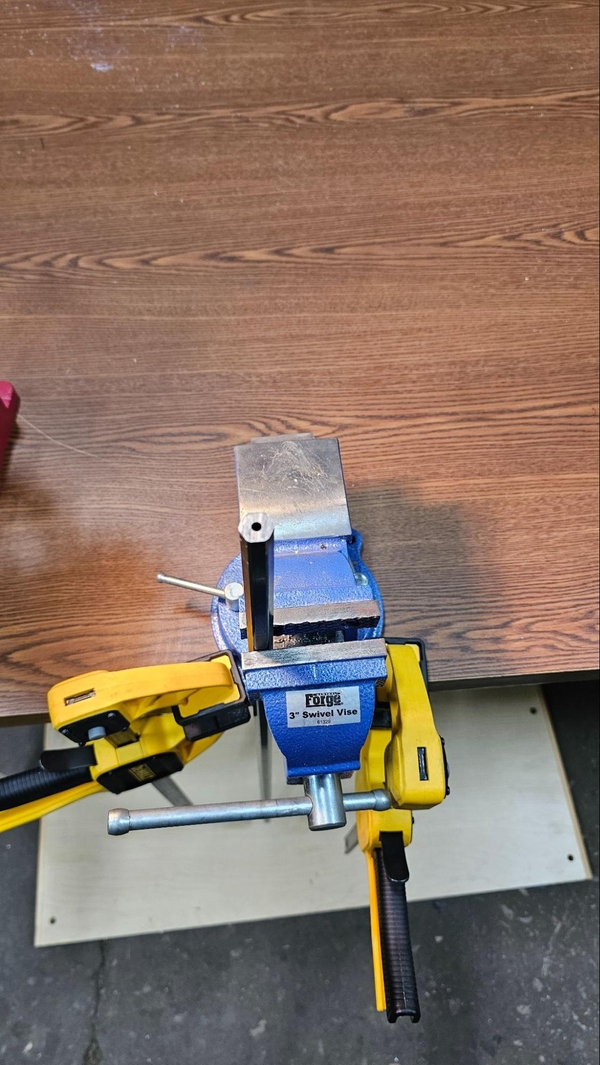
- Vise
- Electrical tape
- A drill with properly sized bit (if you are not tapping a pre-existing hole)
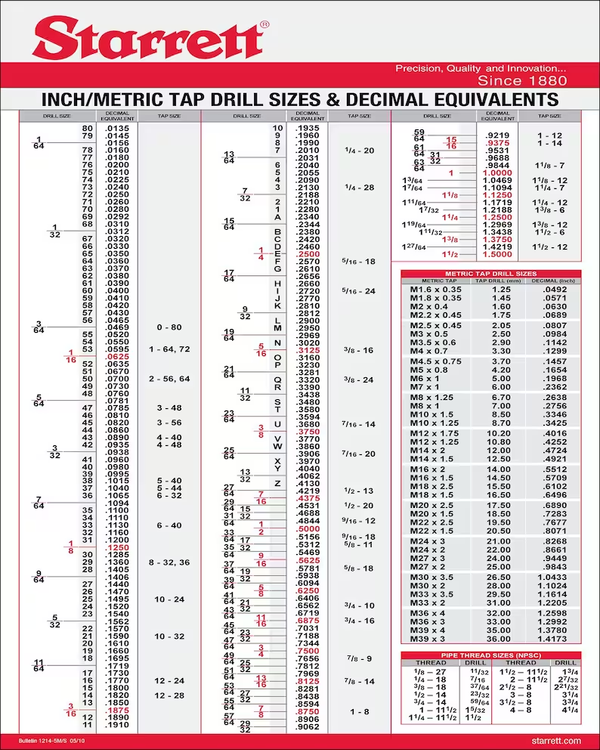
If you are not drilling a pre-tapped hole you first need to create it. Do not drill out the hole to the size of the fastener as the hole will end up too large to be tapped with the required threads. Instead, consult a tap drill size chart to determine the slightly smaller hole size required.
When the hole is ready, start by finding the size of tap you need. Secure that tap in your tap handle or tap wrench.
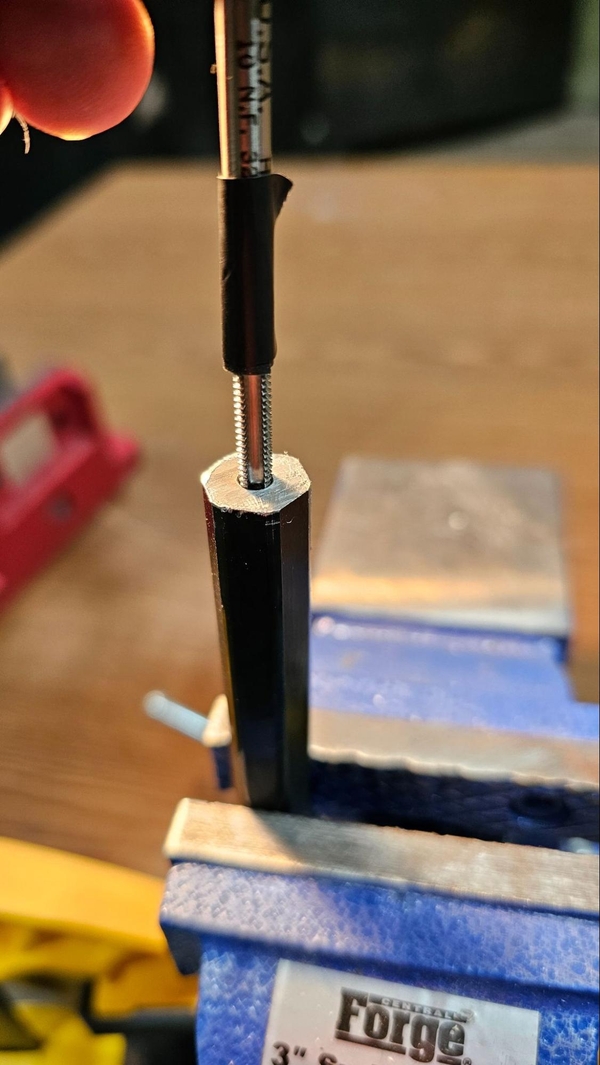
Next you will want to secure what you are tapping in a vise. Make sure that the open end of the hole is close to the vise and that there is clearance for the handle to fully spin. The easiest way is generally to have the hole facing upwards towards the ceiling.
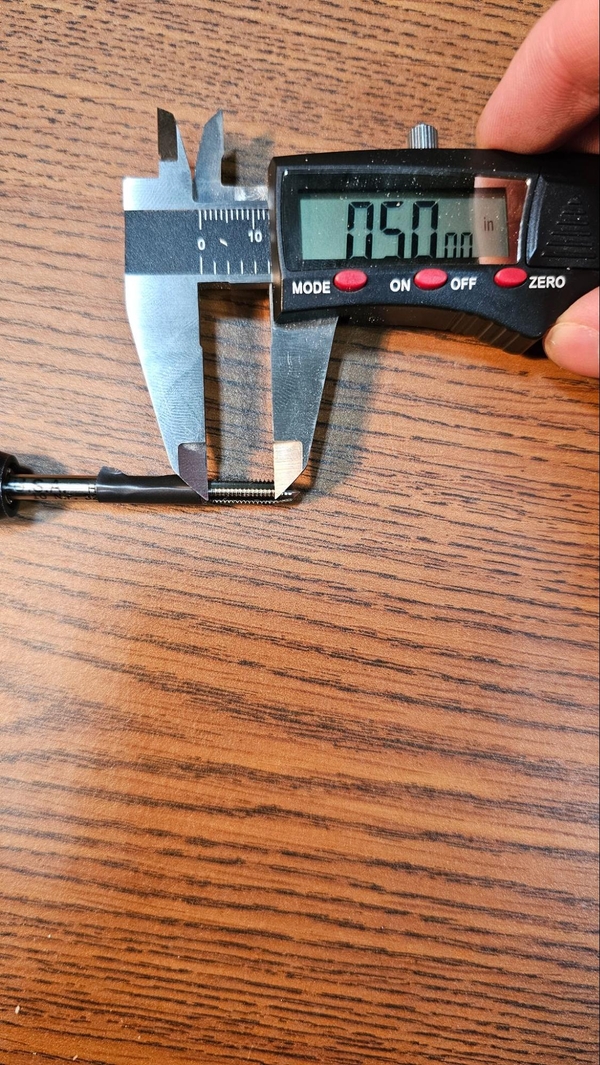
Decide how deep you need the hole tapped. Measure out the desired distance and use a strip of electrical tape to mark slightly further up on the tap so that you know when to stop tapping.
Apply cutting fluid to both the tap and inside of the hole and double check that part is secured in the vise by wiggling it. Start by resting the tap in the hole, attempting to make sure that the tap is as straight up as possible.
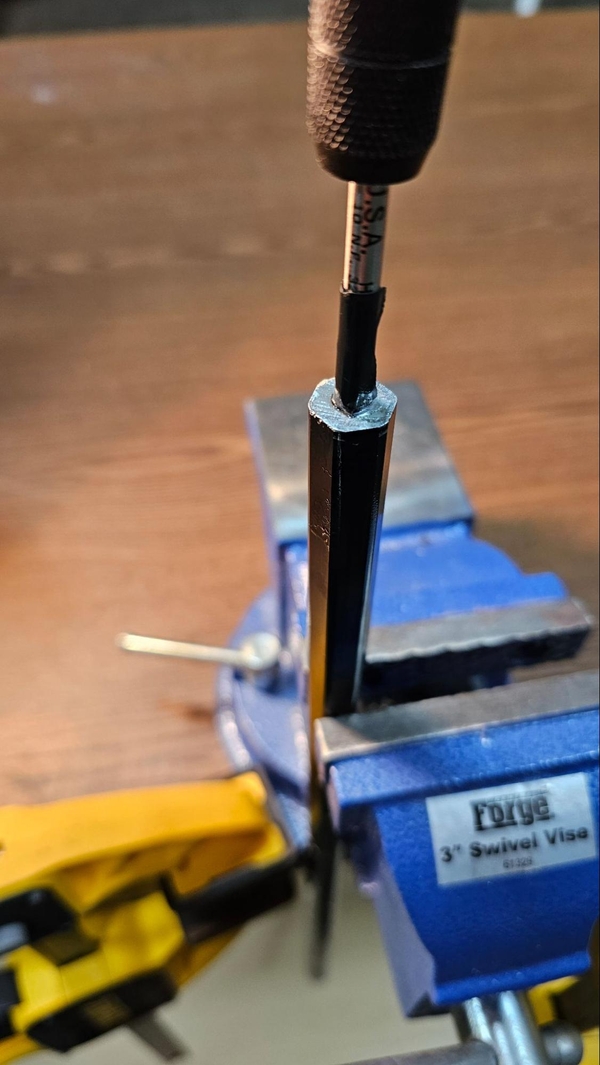
Start applying a light amount of force downward and twist the handle clockwise. After completing one full clockwise turn, spin the tap half a rotation counter-clockwise. The half turn back is very important as it helps clear the metal chips that are created. Repeat this one down half back process until you reach the tape on the tap.
When starting, it may take a few turns before you start to feel the tap grip properly. Make sure the tool is as straight as possible during this process. If it begins to get hard to turn the tap it might be a good idea to fully back out of the hole and/or apply more cutting fluid. Typically this is either caused by chip build-up, reaching the bottom of the hole, or a tap that is cockeyed in the hole. Taps can break easily if not used properly and end up stuck in the hole, potentially ruining the workpiece. Always use caution, go slowly, use plenty of tapping fluid, and focus.
Motor Plate Exercise
Use either a new plate or strip of bar stock or select a location where a #10 hole sized hole can exist on a motor plate.
Create a THRU hole using a #21 or 5-32 drill bit. Use the 10-32 tap on this hole following the information above. You do not need to worry about bottoming out, as the strip is a thin, flat piece of metal with no bottom to the hole. When done you should be able to thread a 10-32 bolts into the hole. 1/8" is the minimum thickness required for this tap.