Robot Wiring
For those of you building the Everybot, the manual will have an electrical section specific to the robot. The resources here serve to help you prepare for wiring your Everybot, there may be materials used in the linked content that are not included in the Everybot's BOM or tools.
Introduction to FRC Robot Wiring from WPILib
The resource above from WPILib is excellent for learning how to wire a robot.
This resource can be used in combination with Everybot's electrical manual section or on its own to create a test bed. If you have the time, creating a test bed is great for verifying the operation of components, flashing the radio/imaging the roboRIO, ensuring you are able to connect to the robot via wifi and testing robot code.
If you plan on building the Everybot, here are some general notes and tips on the various sections:
General Notes
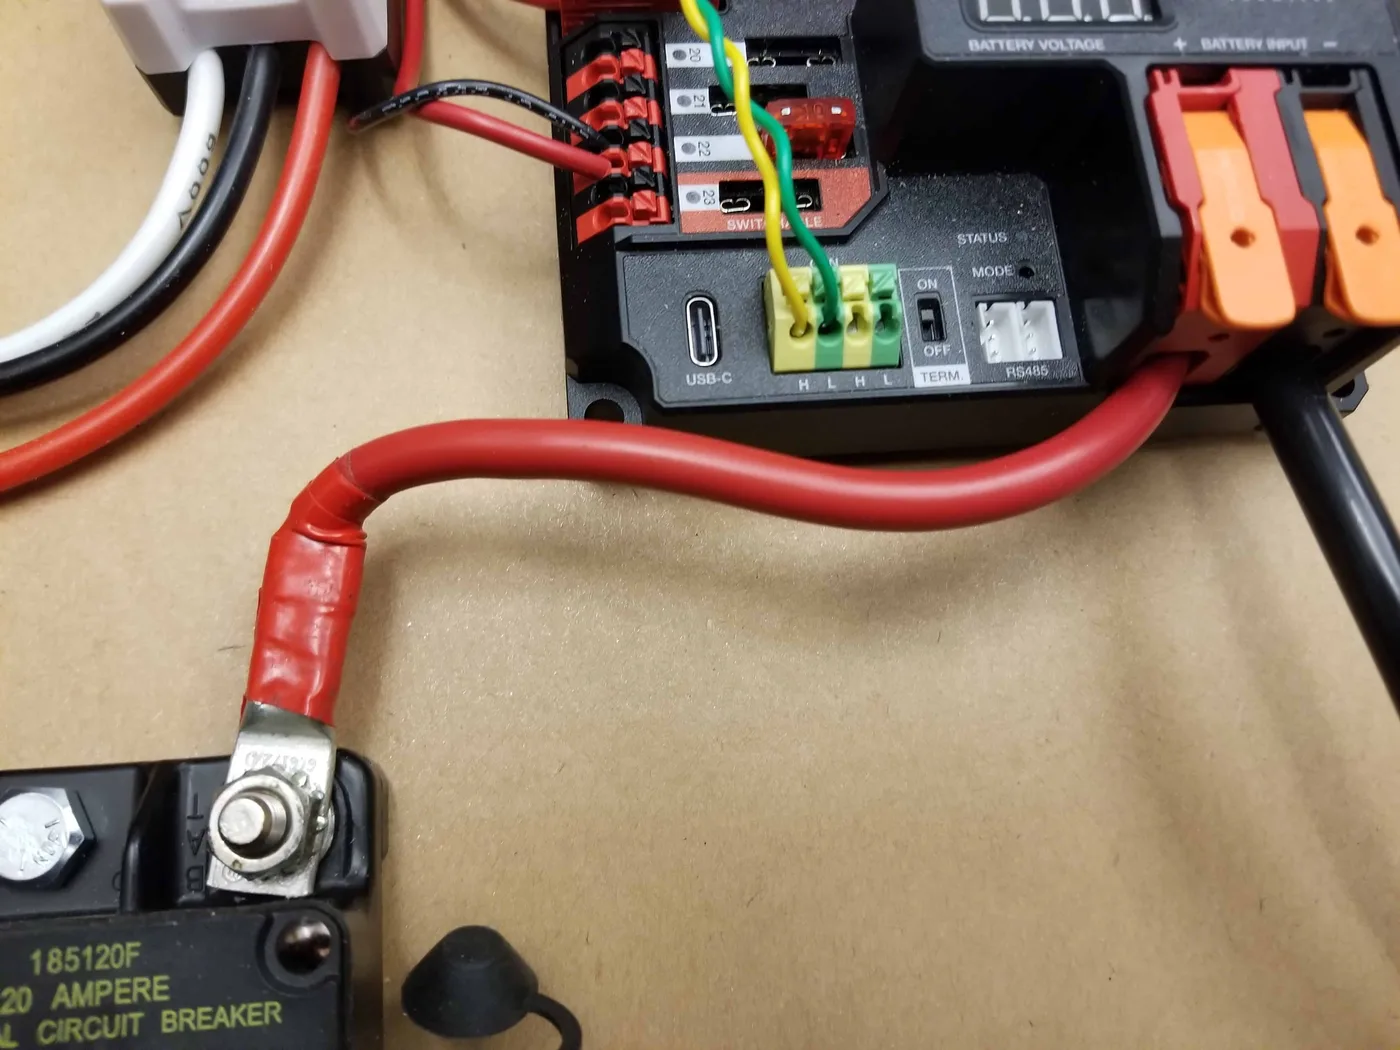
- The REV Power Distribution Hub (PDH) is the newest power distribution device. It comes in the rookie kit of parts, and will be used on the Everybot. If you do not have the PDH, you can also select the CTR tabs for wiring your system.
- CAN bus should always be used over PWM due to past issues with utlizing PWM mode on the SPARK MAX controllers. Make sure to follow the CAN bus setup tabs in the linked resource.
- It is most likely that the Everybot will use SPARK Max and/or Victor SPX motor controllers.
If you create a test bed you may use some consumables. This could include wire if cut shorter, zip ties and terminal lugs if the setup does not transfer well to the completed Everybot.
Gather Materials
-
In past years we have not used Pneumatics, double check with Everybot's bill of materials when it is released.
-
We heavily recommend using inline WAGOs over the quick disconnect terminals as they are easier to impliment and require less training.
- When using the WAGOs, 11mm of insulation needs to be removed. This length is also represented on the side of the WAGO.
-
The cable intended for PWM signals will be used to wire the RSL, but any 22 gauge wire will work. The included Molex CAN Bus kit is used for the motor controllers. To make them easier to work with you may wantCAN Extension Cables.
- If using the extension cables, these [Cable Clips] (https://www.revrobotics.com/rev-11-1229/) will prevent unwaited disconnections.
-
The 10 AWG wire can be replaced with 12 AWG wire.
-
Most of these items will come in the kit of parts, the rest can be purchased from FRC vendors like AndyMark or REV.
Weidmuller Connectors
The video attached is private, here an image of the connector:
Motor Controller Signal Wires
Select the CAN tab.
Robot Signal Light (RSL)
You may use a cable indtended for PWM as the 2-pin cable.
Motor Power
We heavily prefer using WAGOs over the quick disconnect terminals. WAGOs work best when the wire is untwisted and cut to 11mm (~7/16") in length. If you are connecting to a brushless motor (NEO or NEO 550), you will need to connect all 3 wires to the SPARK MAX, along with the sensor cable. For more information on wiring SPARK MAXes please see REV's documentation. We also recommend using WAGOs over Power Poles for teams who are less experienced.
Finishing up and other resources
The last step involves connecting a battery, here the WPILib guide for that: Robot Battery Basics.
For more information on wiring CAN WPILib has a guide that uses older power distribution panel but the basics are the same. The PCM (Pneumatic Control Module) portion can be ignored.