Wheel Assembly
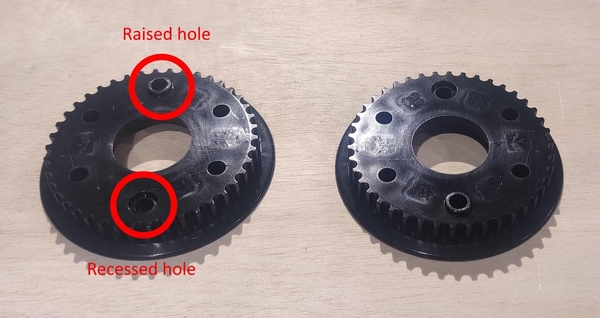
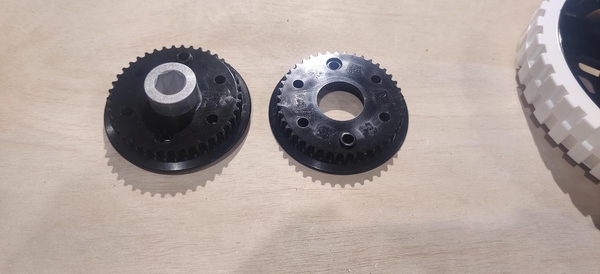
Start assembling the wheels by screwing two pulley halves into one side of each wheel. Each half-pulley (AndyMark part number am-2234a-half) has one raised screw hole and one recessed screw hole on the bottom. Connect two halves together by lining the raised portion of one half with the recessed hole on the other. The ridged portion of the pulley that the belt will actually ride on should line up across the two pulleys with no gaps or misaligned teeth.
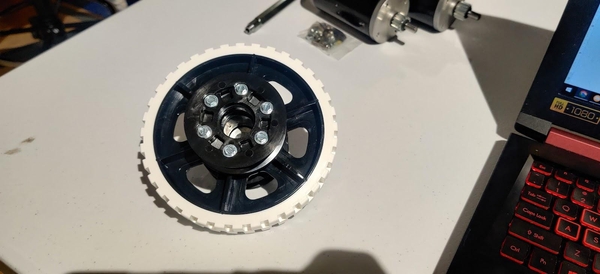
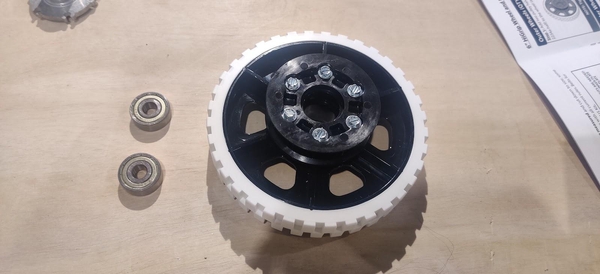
The pulley is then screwed into the matching hole pattern on one side of the 6” HiGrip wheel (am-0940b) using six 10-12 1.5” screws (am-1654). Tighten these bolts in a star pattern like you would when changing a tire on a car to ensure the pulley is aligned evenly on the wheel.

A 1/4” socket driver is preferred over a flat bladed screwdriver for fully tightening these form-threading screws as they will need more force applied to them in order to cut away the plastic hub of the wheel. The socket driver does need to be somewhat thin-walled, as a large driver will foul on the pulley before the screws are fully tightened. A ratcheting driver or a drill will also make the process much faster.
Four of the wheels will have two 1614ZZ 3/8” round inner diameter bearings (AndyMark part number am-0209) pushed into either side. One bearing will push into the open center of the pulley and the other will push into the open center of the wheel. Do not hammer or otherwise harshly strike the sides of the bearings to push them into place as this can easily damage the bearing. The bag that these bearings come in contains two bearings with a flange - a raised ridge around one of the outside edges. Set these bearings aside for later.
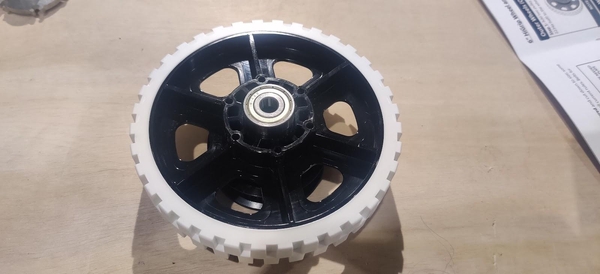
One easy way to make sure they are seated correctly is to line the wheel up on top of the bearing on a table and push the wheel down firmly until the bearing slips into place. The bearings will stick out of the bare half of the wheel slightly and be flush with the top of the pulley. These will be the front and back wheels of the robot.
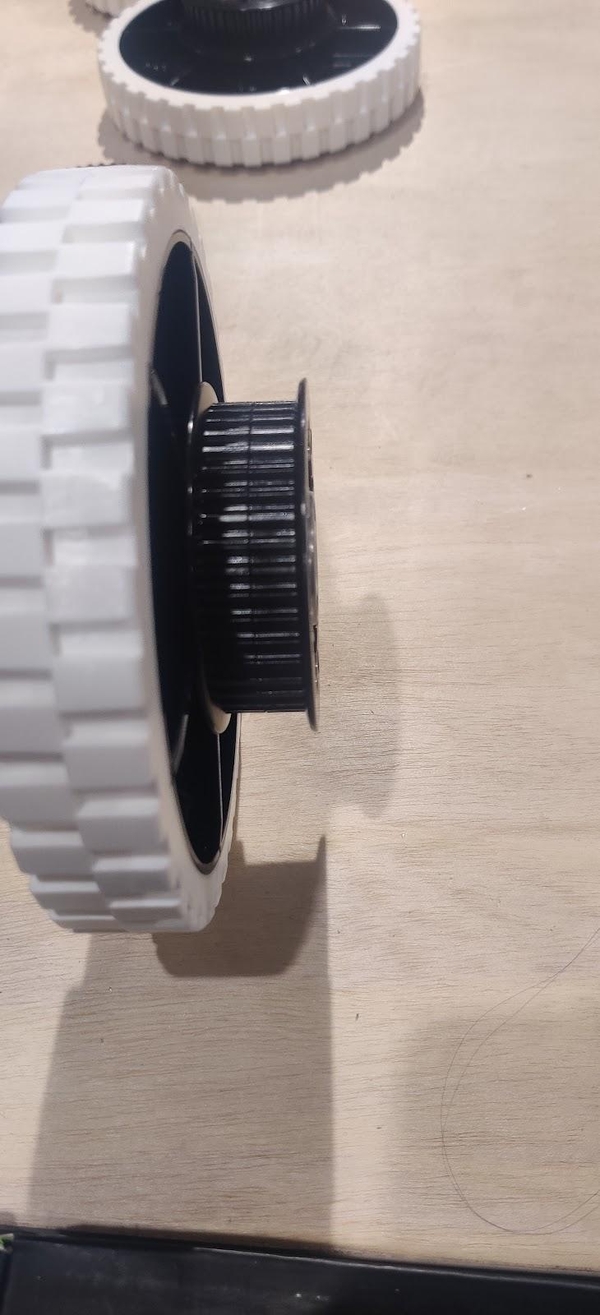
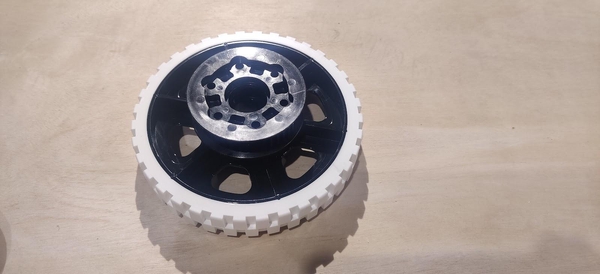
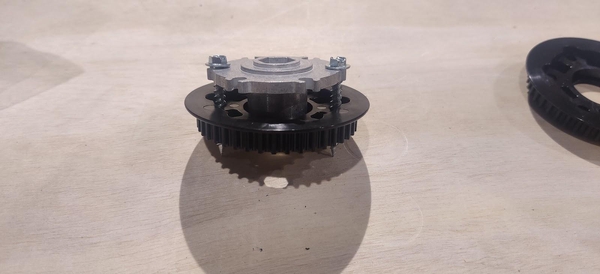
The other two wheels will have one of the remaining pulleys added to the other side with a 1/2” hex hub inserted inside it. The easiest way to line up the hub is to insert one half of a pulley onto the hub’s shaft and line up the screw holes in the hub with the screw holes in the pulley by putting a few of the form-threading screws through the hub and pulley. Push the other half of the pulley down to meet it, matching up the raised and recessed holes as before.

The 1.5” screws included in the 2024 Kit of Parts collide with one another when tightening them into both sides. AndyMark suggests simply continuing to screw them in, pushing the tips of the screws to either side of one another. This may be somewhat hard to do by hand, especially with a flathead screwdriver. If you have wheels from a previous year you may want to take the shorter screws out of them and insert them into the fresh wheels instead. Avoid reusing competition-used wheels as they will probably be worn down and less grippy than fresh wheels.