Everybot Finishing Touches
After the major mechanisms have been attached, ballast weights are required to ensure the robot is able to get ONSTAGE. Without ballast the robot will not be properly balanced during the climb.
Ballast Weight
Approximately 35 pounds of additional weight will be mounted to the back of the chassis to help counterbalance the robot for the climber to work properly and get the robot fully off the ground.
Required Tools
- 5/32” allen wrench or t-handle
- 3/8” socket or ratchet
Ballast Materials
- Qty(2) x 3/4” Pipe Flanges
- Qty(2) x 3/4” diameter by 6” Pipe
- Qty(2) x 3/4” Pipe Caps
- Qty(14-16) x 2.5lb Round Weights
- Qty(8) x 10-32 7/8” Bolts
- Qty(8) x 10-32 1.5” Bolts
- Qty(8) x 10-32 Nylock Nuts
- #10 washers
- 175lb weight-rated Zip Ties
- Qty(2) x Chassis End Plate cutoffs
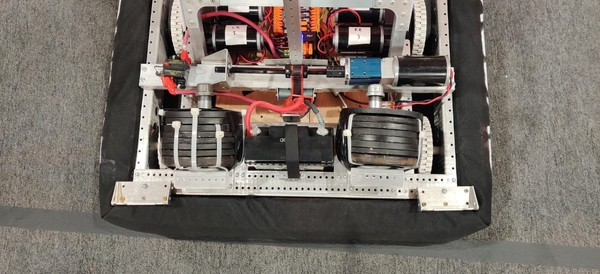
Ballast Attachment
The two Chassis End Plate cutoffs will be bolted to the rear of the robot in between the wheels and the battery bracket. Pipe will be added with round weights attached to counterbalance the weight of the mechanisms on the front of the robot. The weights will sit between the battery bracket and the Chassis Inner Side Rails.
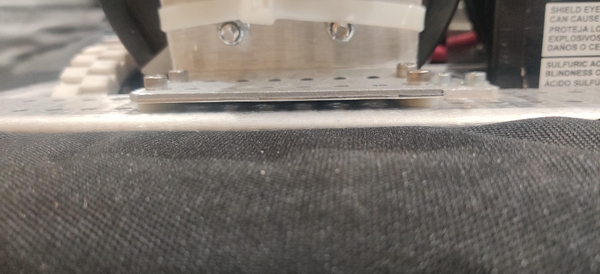
Clamp a 3/4” pipe flange to the Chassis End Plate cutoff pieces so that it can be mounted as high as reasonably possible towards the side with the shorter flange. Match drill out the holes in the pipe flange and attach them using 7/8” or 1.5” long 10-32 nuts and bolts.
Position the chassis cutoffs so they line up with the holes in the Chassis End Plate as close to the battery bracket bolts as possible. Use four 10-32 bolts (whatever you have left of 1.5” or 7/8”) on each plate, two in each row of holes, with #10 washers between the cutoffs and chassis to shim the cutoffs up slightly (we used nylon spacers, but #10 washers are already required elsewhere).
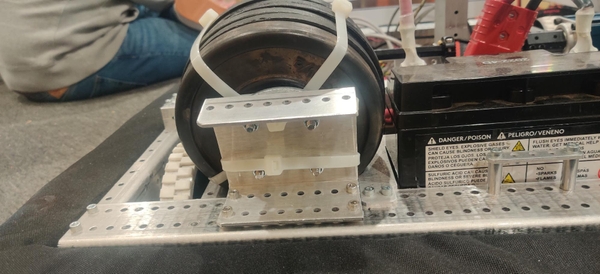
Screw a 3/4” diameter 6” long pipe and 3/4” pipe cap into the pipe flange. Bend the chassis cutoffs back and up by pulling on the pipes so they are angled upwards like the launcher. Add 7 weights to each assembly and securely attach them using ~175lb weight-rated zip ties by wrapping four around each stack at even intervals to form a solid cylinder of weights. Add two more zip ties around the chassis cutoffs and through the loops of the zip ties around the weights. Wrap the entire stack and bracket in electrical tape several times to help hold it in place.
Robot Inspectors at your event may request that your weights be mounted more securely. Hose clamps or a similar strap will also function to securely attach the weights, as well as other tape like gaffer’s tape. Ask your inspector if they have additional suggestions to help you pass inspection.
Depending on the exact manufacturing of your Everybot and any additions or changes you may have made, you may need to add additional weight to each side of the robot to balance the robot enough for the climber to function properly. Ideally, your team has some way to test the climber before your official events, either by building part of the Stage field element (plans from FIRST to construct one out of wood can be found here) or otherwise hanging the chain or a chain substitute from the appropriate height.
Side Panels
Three corrugated plastic side panels were added to the sides of the KitBot launching mechanism to prevent Notes from getting stuck under the launching mechanism. These side panels could also be made from polycarb or just about any other similar flat, lightweight material (heavier materials will add even more weight in front of the climber and require more rear ballast).
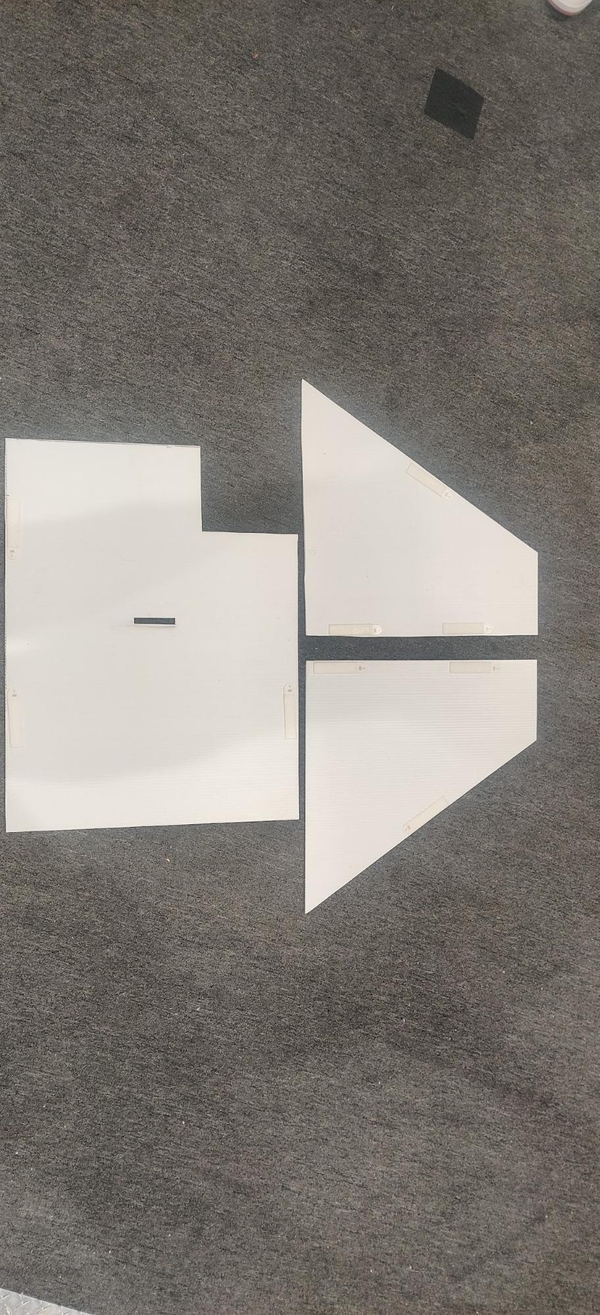
The easiest way to cut the panels to exactly the right size is to simply hold your sheet of material up to the sides and front of your robot and mark out the boundaries of the panel you want. You will need to account for the size and shape of whatever roller claw gearbox and motor your team is using as well as a slot or hole so the robot signal light is visible if your material is completely opaque. These panels can be decorated with your team’s name, number, logo, sponsors, artwork, or just about anything else you wish.
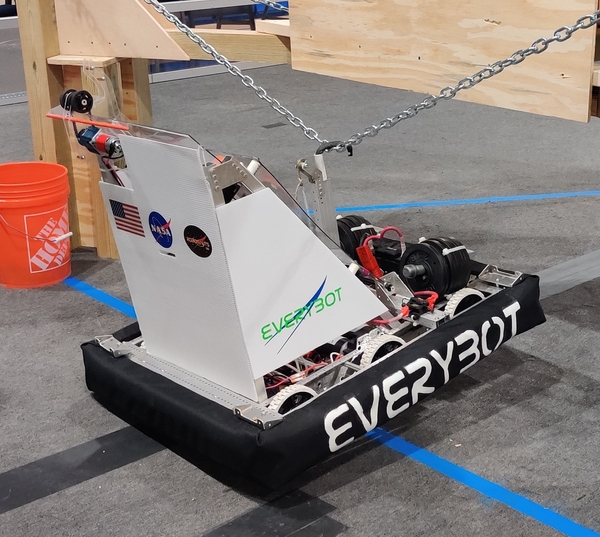
We attached our sheets using Velcro-style Command Strips but actual Velcro, dual lock (included in the KOP), or any other similar removable fastener will work just as well while still allowing the panels to be easily removed to access and service the electronics and other internal components.